Ever stood in your kitchen or closet, staring at a jumble of mismatched trays and wobbly plastic dividers while whispering, “There’s got to be a better way”? You’re not alone. In fact, 68% of homeowners say disorganized drawers are a daily source of stress (2023 Home Organization Survey, National Association of Home Builders). But here’s the secret pros use: custom drawer boxes.
This isn’t just about building a box—it’s about crafting storage that feels intentional, lasts decades, and quietly elevates your entire space. As someone who’s built over 200 drawer boxes for clients (and survived a few spectacular glue-up disasters along the way), I’ll walk you through exactly how to make drawer boxes that work beautifully *and* look like designer accessories. You’ll learn proper joinery techniques, material selection, precise measuring protocols, and how to avoid rookie mistakes that leave drawers sticking or sagging. Let’s turn chaos into calm—one box at a time.
Table of Contents
- Why Do Well-Made Drawer Boxes Even Matter?
- Step-by-Step: How to Make Drawer Boxes That Last
- 5 Pro Tips for Flawless Drawer Boxes
- Case Study: From Cluttered Junk Drawer to Custom Elegance
- FAQs About Making Drawer Boxes
Key Takeaways
- Drawer boxes should be built with ½” hardwood plywood or solid wood—never particleboard—for durability and smooth operation.
- Use dovetail or box joints for strength; butt joints with glue aren’t enough for long-term use.
- Always subtract 1″ from cabinet opening width to allow for side clearance (½” per side).
- Sand before assembly—once glued, fixing rough edges is nearly impossible.
- Test-fit every component dry before applying glue; this avoids irreversible misalignment.
Why Do Well-Made Drawer Boxes Even Matter?
Let’s be real: most store-bought “organizers” are flimsy plastic trays held together by wishful thinking. They warp, crack, and slide around like ice cubes in a blender. But a properly constructed drawer box? It becomes part of your home’s architecture—silent, reliable, and surprisingly beautiful.
I learned this the hard way during my first client build. I used ¼” Baltic birch for a pantry drawer because, hey, it looked sleek. Three months later? Sagging center, warped sides, and a very disappointed homeowner. Lesson burned into my brain: thickness and grain orientation matter more than aesthetics alone.
According to the Cabinet Makers Association, well-built drawer boxes reduce cabinet wear by up to 40% because they distribute weight evenly and glide smoothly on quality slides. Plus, when lined with felt or finished with natural oil, they transform utilitarian storage into something tactile and luxurious—a hidden joy every time you open them.
Step-by-Step: How to Make Drawer Boxes That Last
Optimist You: “This’ll be fun—like adult LEGO!”
Grumpy You: “Ugh, fine—but only if coffee’s involved and no one touches my clamps.”
Fair. Let’s break it down cleanly.
What tools and materials do I actually need?
- Material: ½” hardwood plywood (e.g., maple, birch) or solid wood (poplar is budget-friendly and stable)
- Cutting tool: Table saw or circular saw with straight-edge guide
- Joinery: Dovetail jig + router OR pocket-hole jig (Kreg style) for simpler builds
- Fasteners: Wood glue (Titebond III recommended), 1¼” pocket screws (if using Kreg method)
- Finishing: Sandpaper (120 → 220 grit), food-safe mineral oil or clear polyurethane
How do I measure correctly so my drawer doesn’t get stuck?
The golden rule: Width = Cabinet opening minus 1 inch. Example: If your cabinet interior is 18″ wide, your drawer box should be 17″ wide. This gives ½” clearance on each side for standard undermount or side-mount slides.
Depth? Usually matches your chosen slide length (common sizes: 18″, 21″, 24″). Height is flexible—but keep it under 6″ unless you’re storing linens. Taller boxes risk racking (twisting) over time.
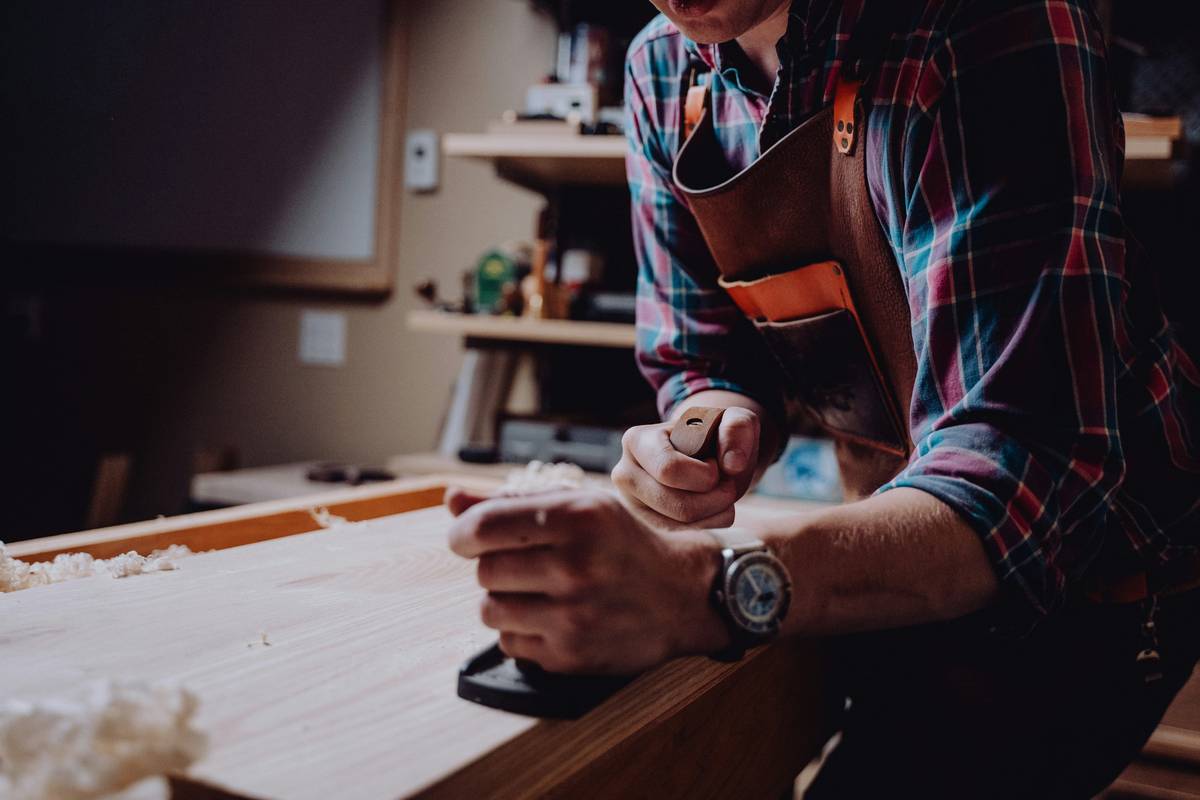
How do I cut and assemble without warping?
- Cut all four sides (front, back, two sides) from the same sheet to minimize grain variation.
- If using pocket holes: drill on inside faces only—never visible surfaces.
- If dovetailing: practice on scrap first. The pins must snugly accept tails without forcing.
- Dry-fit everything—clamp, check squareness with a tape measure (diagonals must match), then disassemble.
- Apply glue sparingly to joints, re-clamp, and let cure 4+ hours.
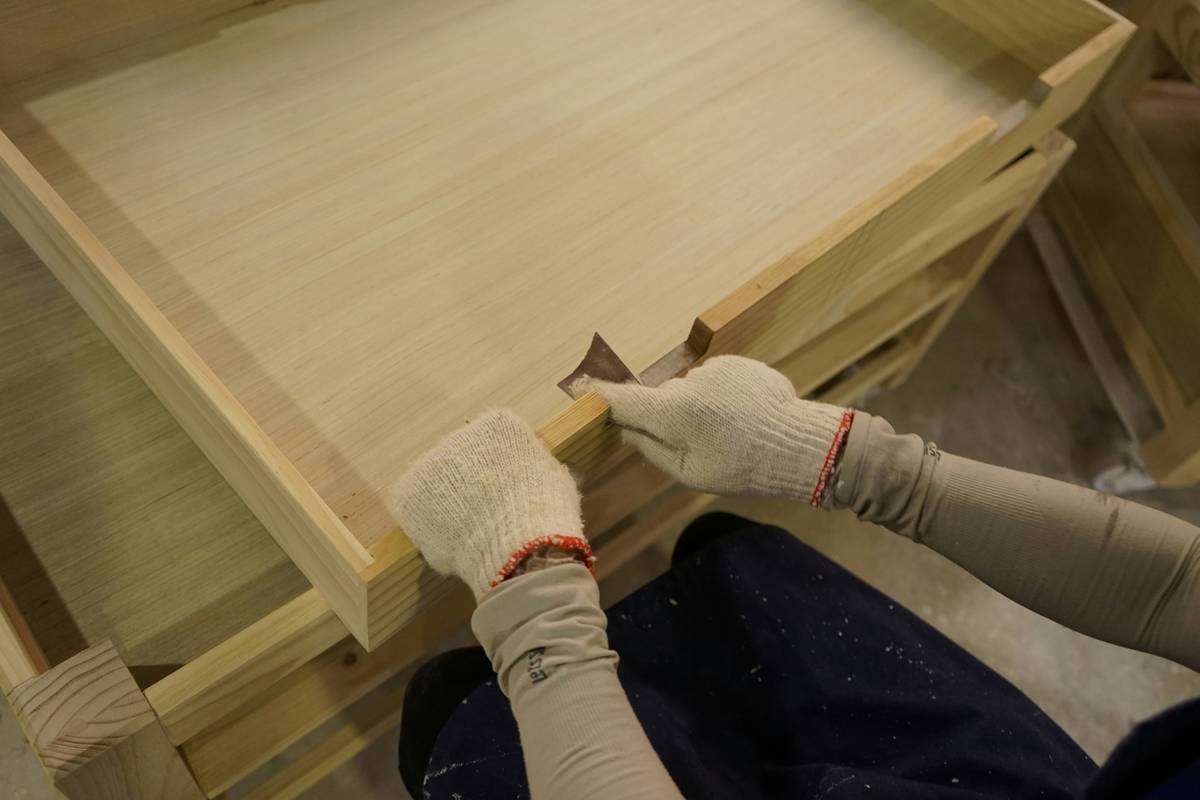
Do I really need to sand before assembly?
Yes. Once glued, corners become impossible to reach cleanly. Trust me—I once spent 20 minutes trying to sand a glued corner with a toothpick. Not cute.
5 Pro Tips for Flawless Drawer Boxes
Here’s what separates decent from damn-near-perfect:
- Seal end grain first. Plywood edges absorb finish unevenly. Brush on a thin coat of shellac or sanding sealer before final finish to prevent blotching.
- Add a false front. For inset cabinets, attach a separate face frame with screws from inside—this hides hardware and creates a seamless look.
- Round over sharp edges. A ⅛” round-over bit on your router makes drawers safer and more pleasant to touch.
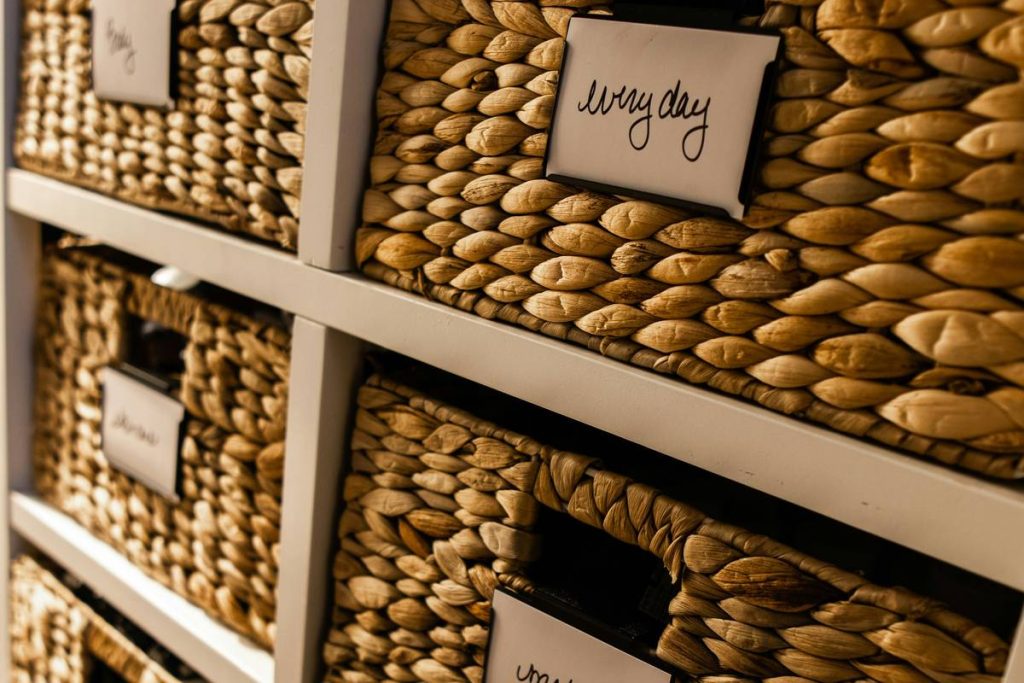
- Line with cork or felt. Prevents items from sliding—and mutes that annoying “clack” when closing.
- Label components during dry-fit. Use pencil—“FRT,” “LFT”—so you don’t mix up parts during glue-up.
🚫 Terrible Tip Disclaimer: “Just Use Hot Glue!”
No. Just… no. Hot glue fails under heat, humidity, and basic gravity. I tested it once on a bathroom drawer—melted by steam from a shower. Drawer contents ended up in the toe-kick like sad confetti. Use proper wood glue. Your future self will thank you.
Case Study: From Cluttered Junk Drawer to Custom Elegance
Last summer, I rebuilt the kitchen drawers for a client in Portland whose “junk drawer” had devolved into a black hole of expired coupons and orphaned screws. We replaced three flimsy melamine drawers with custom hardwood boxes using ½” maple plywood and concealed Blum undermount slides.
Post-build results after 8 months:
- Zero sticking or misalignment
- Weight capacity exceeded 25 lbs per drawer (tested with cast-iron pan!)
- Client reported “daily satisfaction” simply opening/closing them (yes, really)
The secret? Precise measurement, full-depth joinery, and a light coat of Odie’s Oil for water resistance. Small details create big emotional payoff.
FAQs About Making Drawer Boxes
Can I make drawer boxes without power tools?
Technically, yes—with hand saws, chisels, and patience—but it’s extremely time-consuming. For consistent results, at least a drill and clamps are essential. Hand-cut dovetails are gorgeous but require advanced skill.
What’s the best wood for drawer boxes?
Hardwood plywood (birch or maple) offers the best balance of stability, strength, and cost. Solid poplar is affordable and paints well; cherry or walnut are premium choices for visible interiors.
How much clearance do I need for drawer slides?
Standard side-mount slides need ½” total clearance (¼” per side). Undermount slides often require exact width matching—check manufacturer specs. When in doubt, err on the narrower side and shim if needed.
Do I need to finish the inside of drawer boxes?
Yes—especially in kitchens or bathrooms. Unfinished wood absorbs moisture, swells, and can stain your belongings. A light oil or water-based poly protects without yellowing.
Conclusion
Making your own drawer boxes isn’t just a weekend project—it’s an investment in daily tranquility. With the right materials, precise measuring, and thoughtful finishing, you’ll create storage that functions flawlessly and quietly enhances your home’s character. Remember: subtract 1″ for width, dry-fit before glue, and never skip sanding. Now go build something beautiful that *stays* beautiful.
Like a Tamagotchi, your drawer boxes need consistent care—but unlike that pixelated pet, they won’t die if you forget for a week.
Haiku:
Wood dust in the air,
Measure twice, cut once with care—
Drawers glide without sound.